I'd like to take a moment to answer the first question "Why the Ls1 based engine swap"
1. Parts are plentiful and cheap
2. Incredibly easy to work on
3. Easy to make great power
4. The stock ECU is flashable by many shops
5. Lightens the front end to yield a 50/50 weight distribution
The ls1 swapped is300 has to be one of the most agile and confidence inspiring vehicles I've ever driven. I forget it has 4 doors all the time. If you play your cards right this swap can be completed for $9000-$12,000.
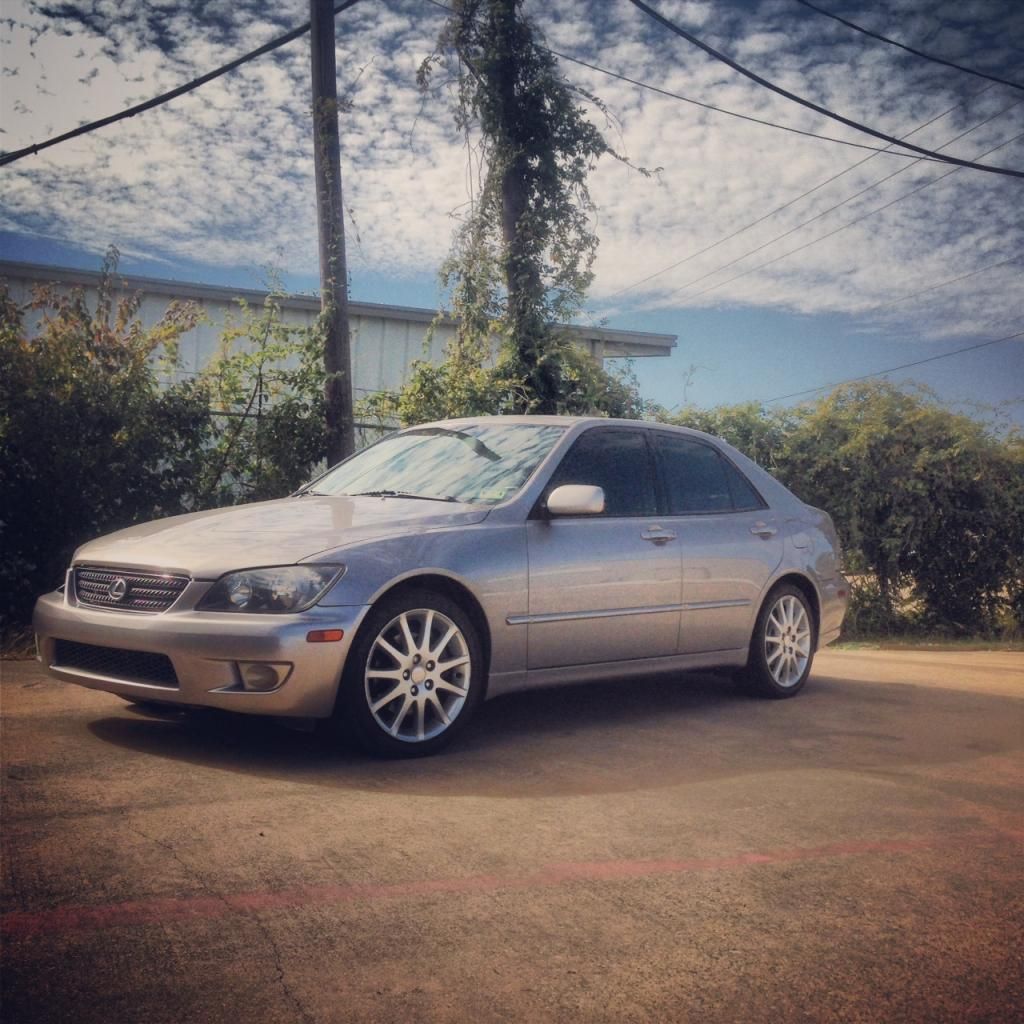
Now onto the swap. Its hard to think its been nearly 5 years since I swapped the first ever Is300 with an Ls1. After searching for sometime I found a great deal on this 2003 Sport Design Is300 with a 5spd trans and LSD sporting the Thundercloud Metallic paint color. Love it!
![Image]()
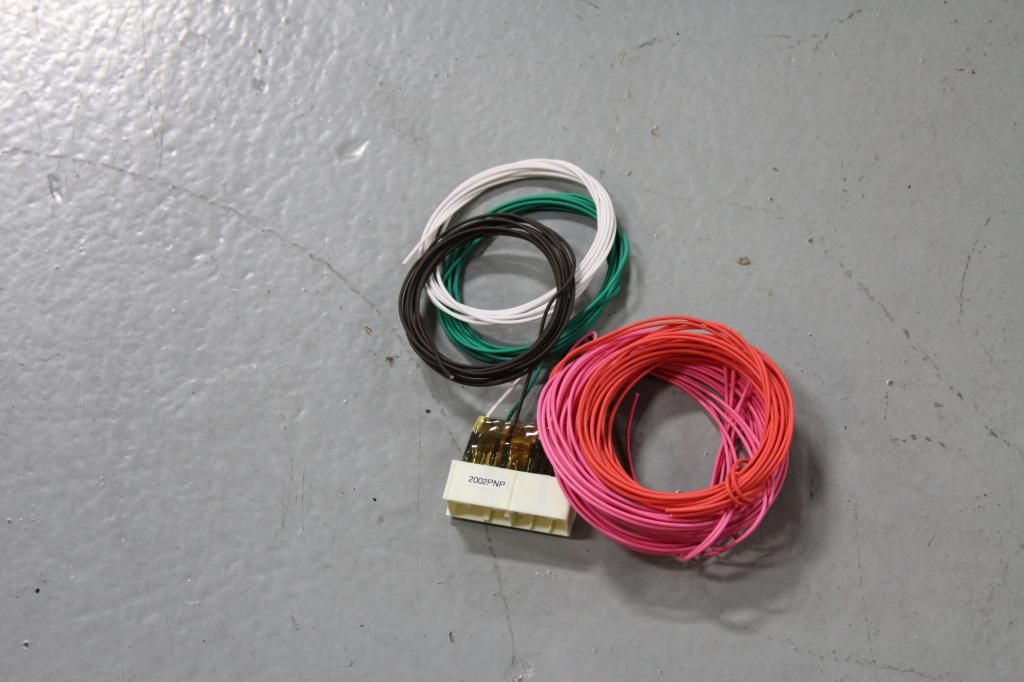
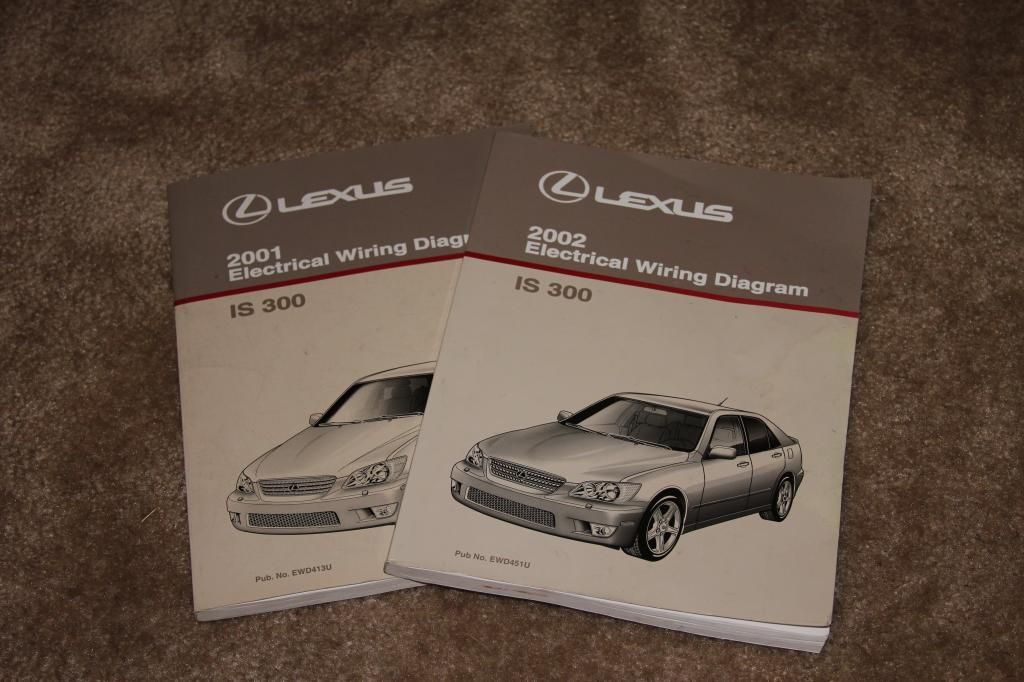
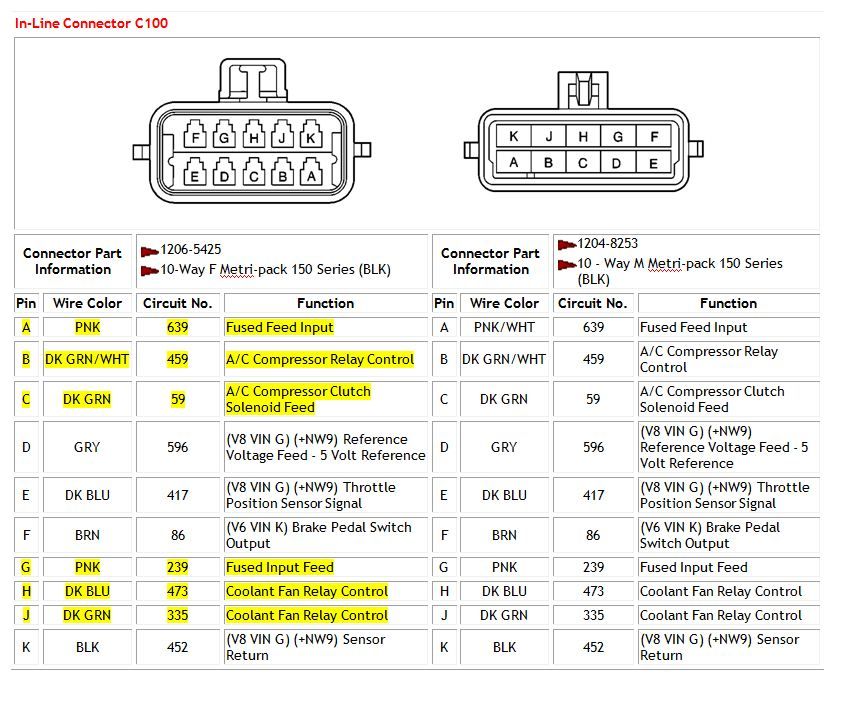
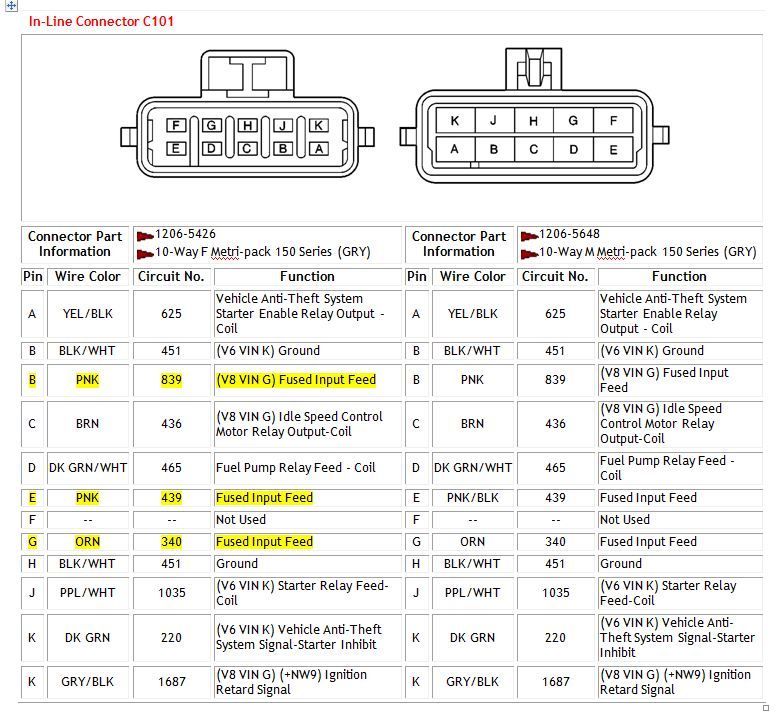
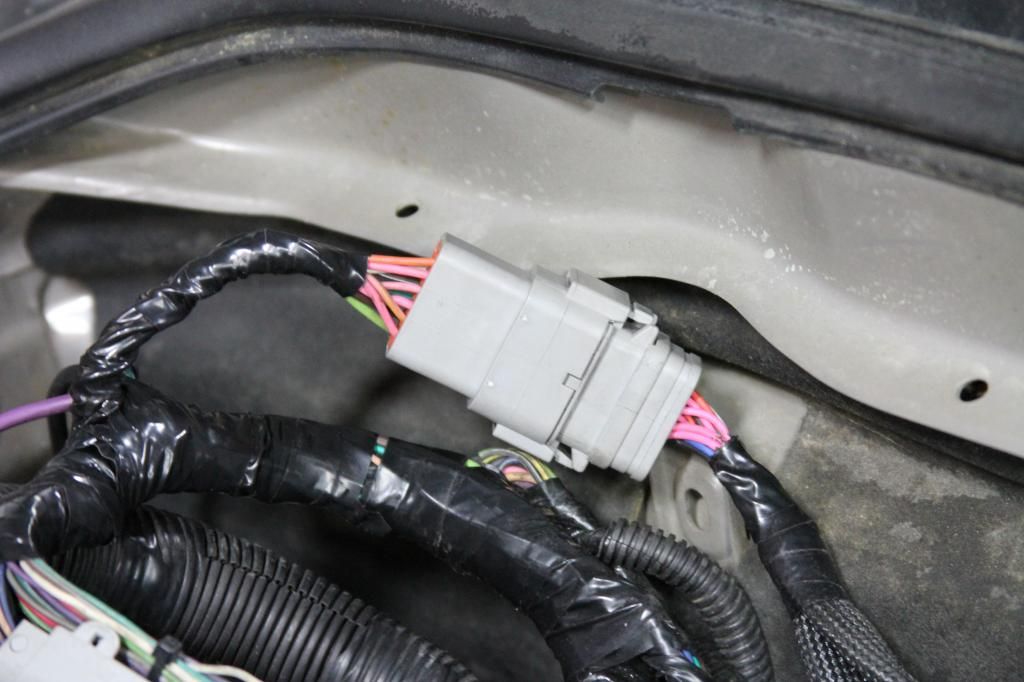
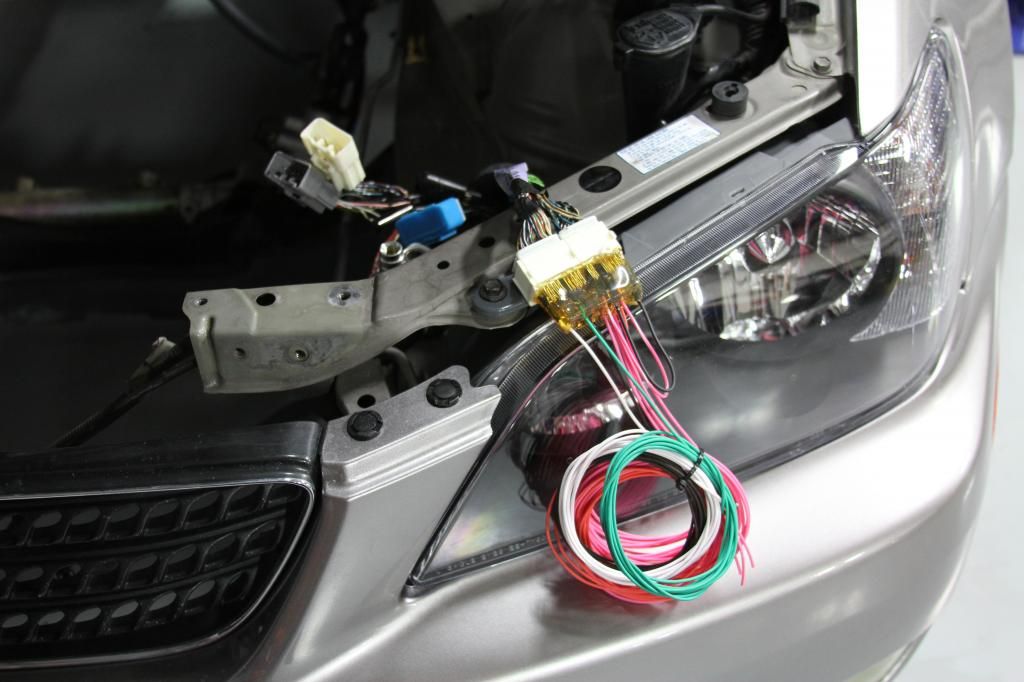
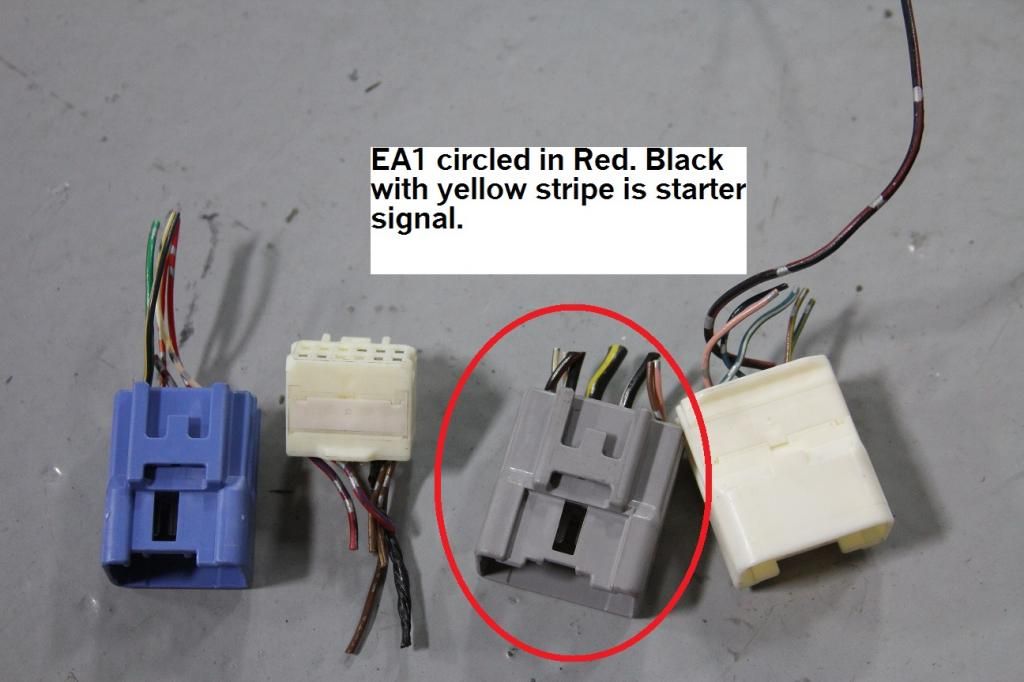
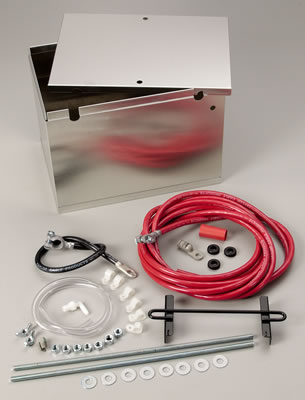
In this thread I will do my best to cover the swapping process from choosing the right Ls engine to basic wiring and purchasing the right swap components.
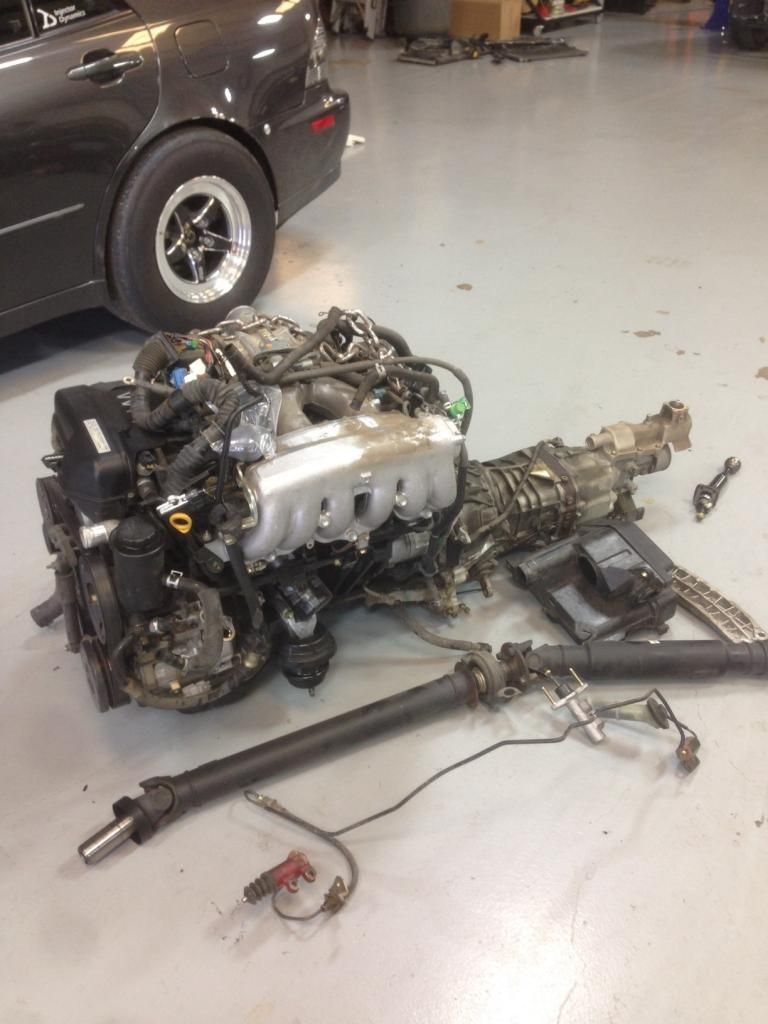
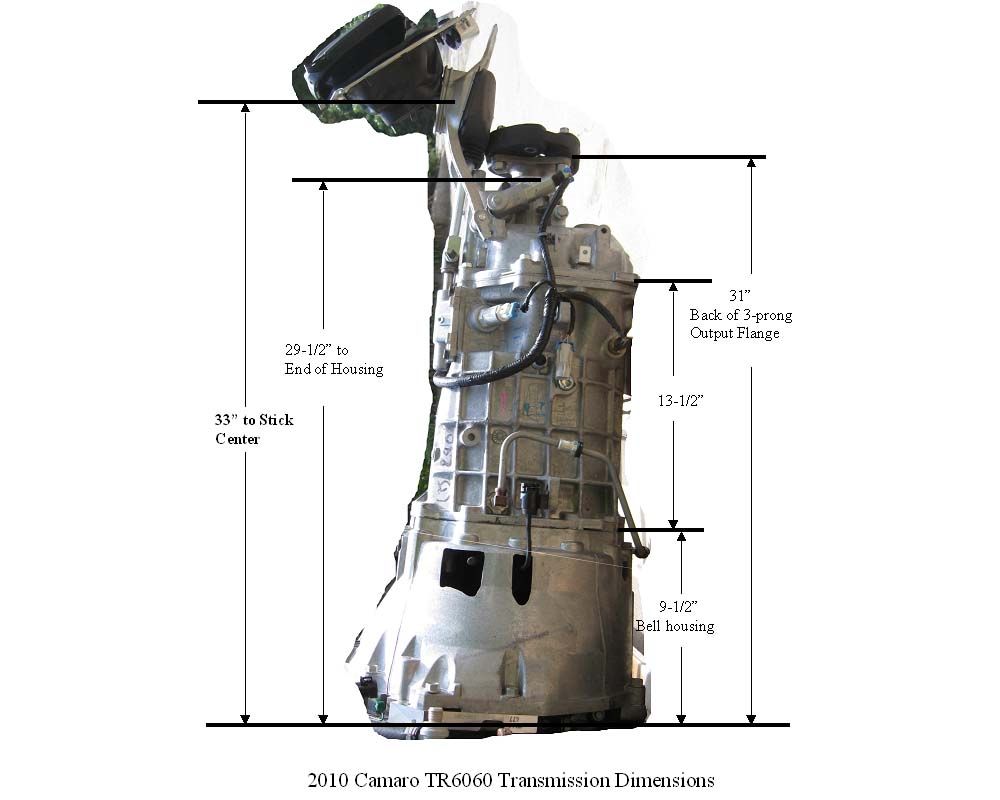
My go to engine swap is the LS1/T56 combo found in the 1998-2002 Camaro and Trans Am. This combo is a common find on craigslist for $2800-$3500. The F-body wiring harness and front drive accessories provide the easiest solution for the is300 swap. I found this setup with 99,000 miles still in the car and bone stock. Watch out for scammers!
![Image]()
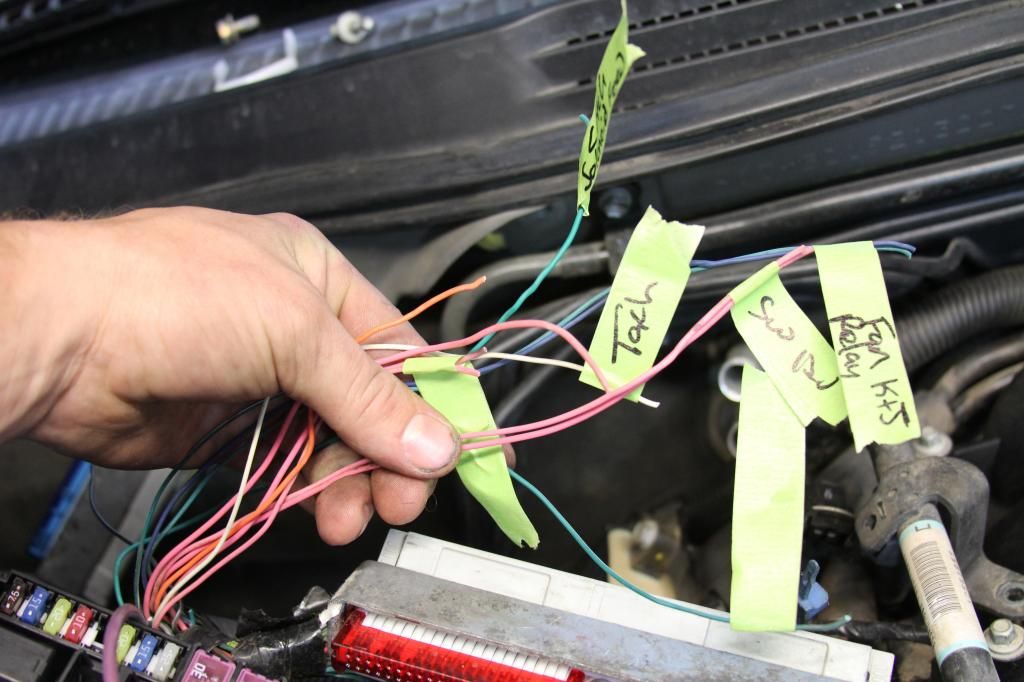
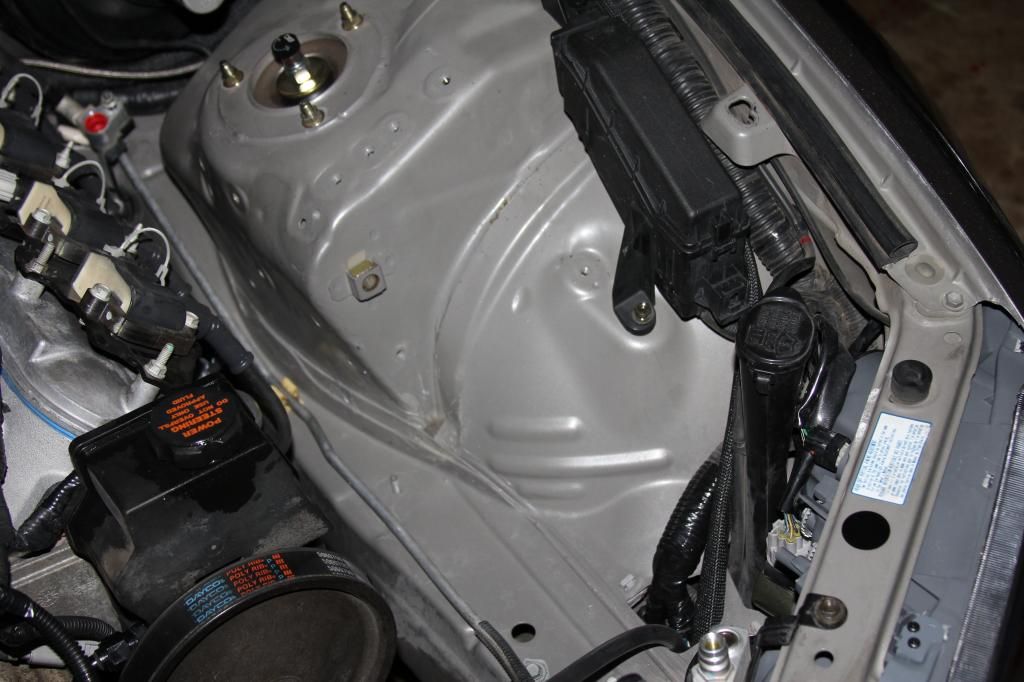
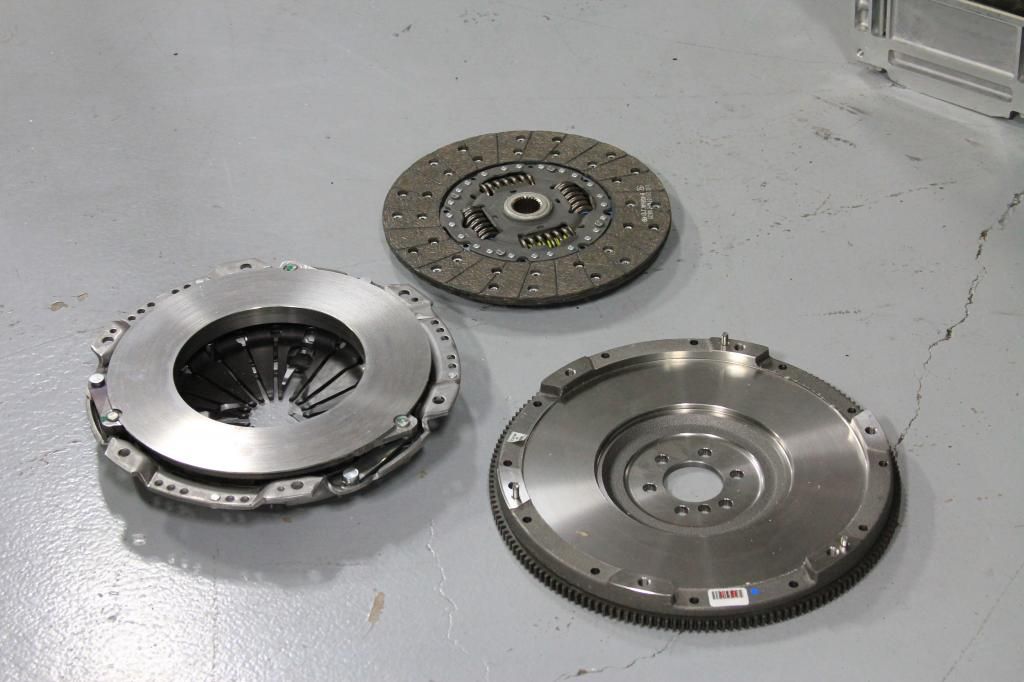
I don't plan to cover engine removal because this is pretty basic but I would like to note some parts worth keeping during this process.
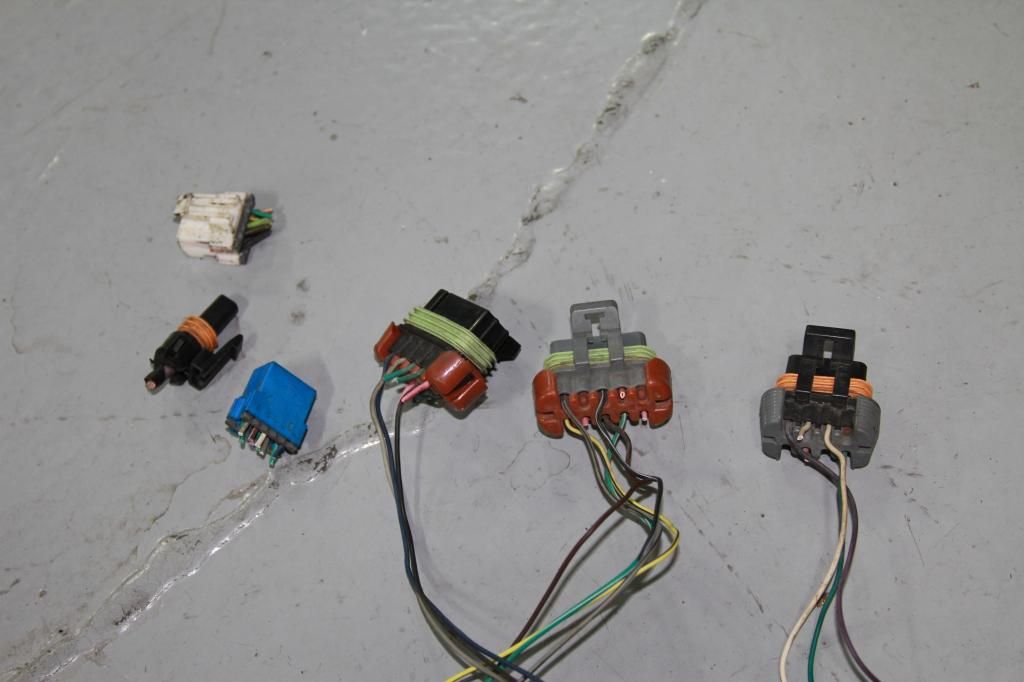
Stock parts to keep:
Transmission mount bolts (4) M10x1.25
A/C lines (2)
Power wire running from alternator to fuse box (1)
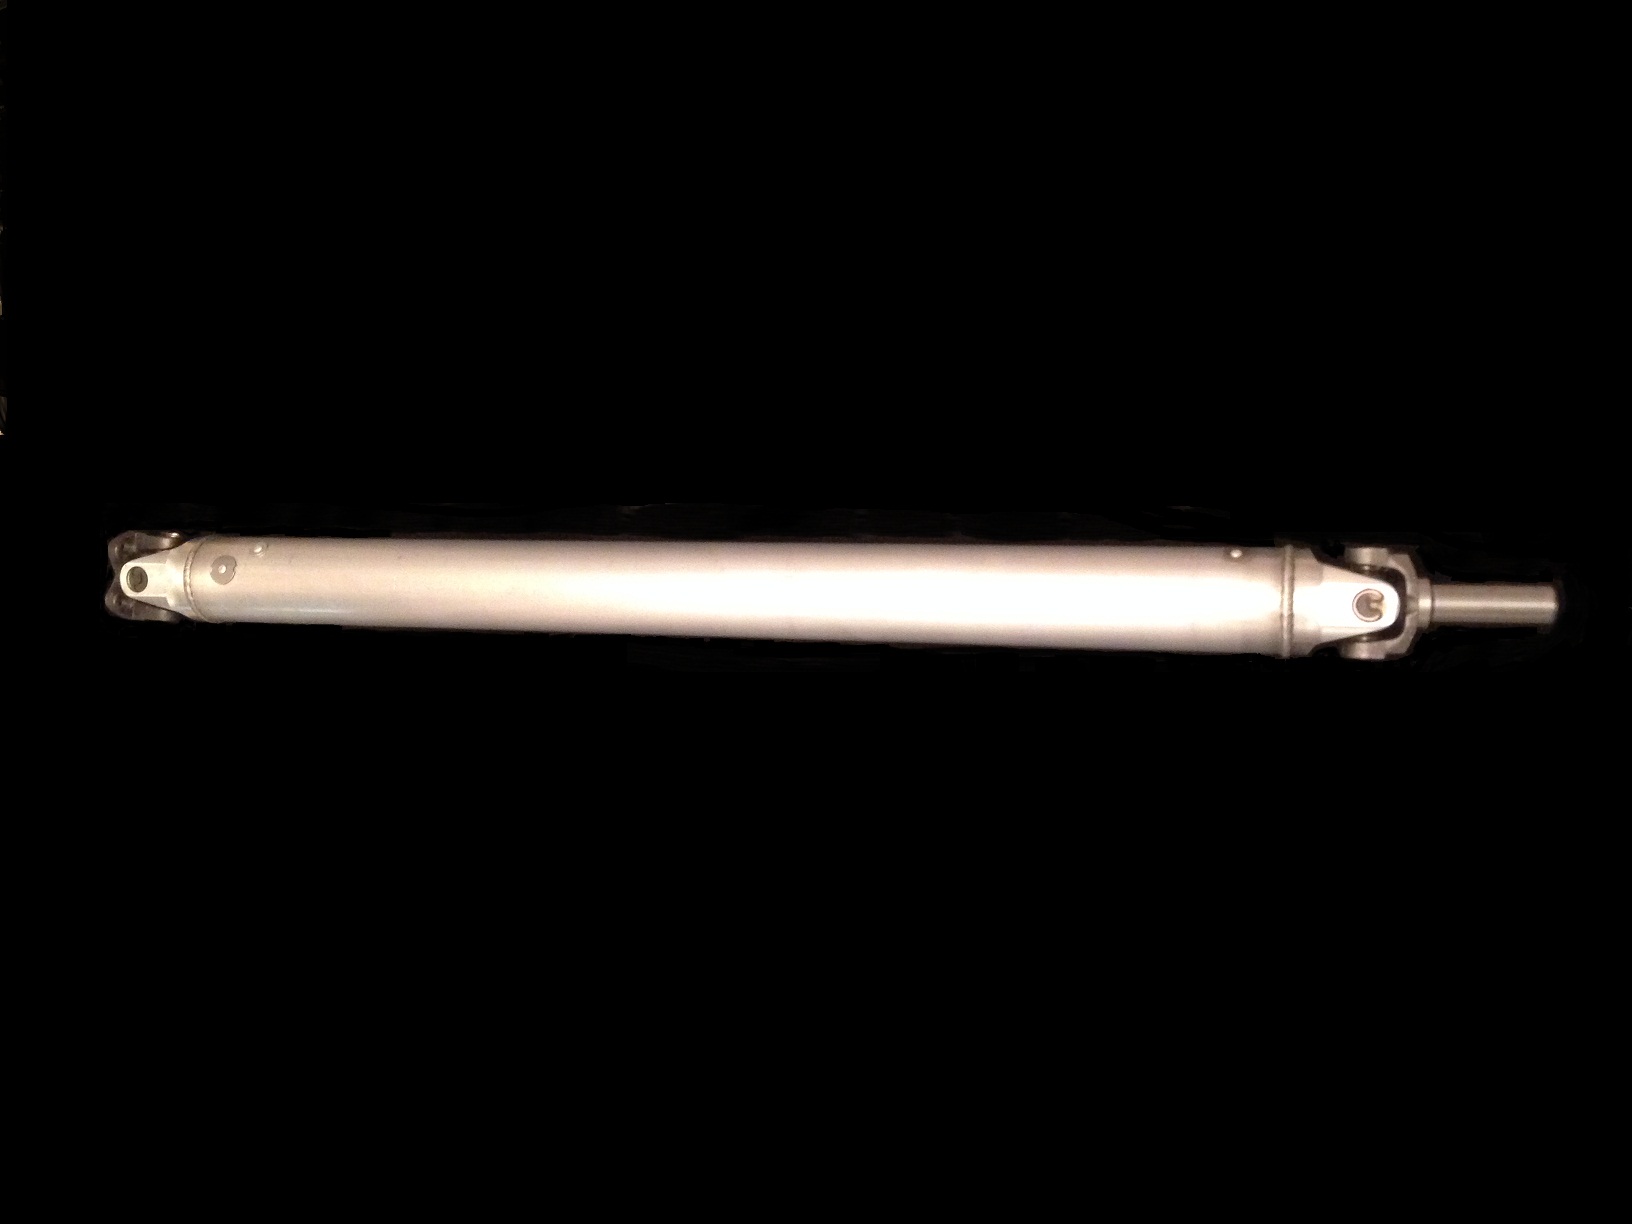
Now that you've kept those few items this is what you're left with to sell. Depending on mileage I get between $1000 and $1500 for these parts
![Image]()
1. Parts are plentiful and cheap
2. Incredibly easy to work on
3. Easy to make great power
4. The stock ECU is flashable by many shops
5. Lightens the front end to yield a 50/50 weight distribution
The ls1 swapped is300 has to be one of the most agile and confidence inspiring vehicles I've ever driven. I forget it has 4 doors all the time. If you play your cards right this swap can be completed for $9000-$12,000.
Now onto the swap. Its hard to think its been nearly 5 years since I swapped the first ever Is300 with an Ls1. After searching for sometime I found a great deal on this 2003 Sport Design Is300 with a 5spd trans and LSD sporting the Thundercloud Metallic paint color. Love it!
In this thread I will do my best to cover the swapping process from choosing the right Ls engine to basic wiring and purchasing the right swap components.
My go to engine swap is the LS1/T56 combo found in the 1998-2002 Camaro and Trans Am. This combo is a common find on craigslist for $2800-$3500. The F-body wiring harness and front drive accessories provide the easiest solution for the is300 swap. I found this setup with 99,000 miles still in the car and bone stock. Watch out for scammers!

I don't plan to cover engine removal because this is pretty basic but I would like to note some parts worth keeping during this process.
Stock parts to keep:
Transmission mount bolts (4) M10x1.25
A/C lines (2)
Power wire running from alternator to fuse box (1)
Now that you've kept those few items this is what you're left with to sell. Depending on mileage I get between $1000 and $1500 for these parts


") LOL
LOL